
The 4 steps to mastering the pull-up
To many, mastering the pull-up may seem like an impossible feat. However, with proper guidance, anyone can conquer their first pull-up. If your goal is to increase strength and hypertrophy, I highly recommend incorporating pull-ups into your program.
This is because the pull-up targets multiple muscles at once. Not only do you challenge your back, but your biceps, triceps, shoulders and abs also get a workout. Now how’s that for an exercise? Follow the 5 steps below to master your first pull-up.
Chin-up vs. Pull-up
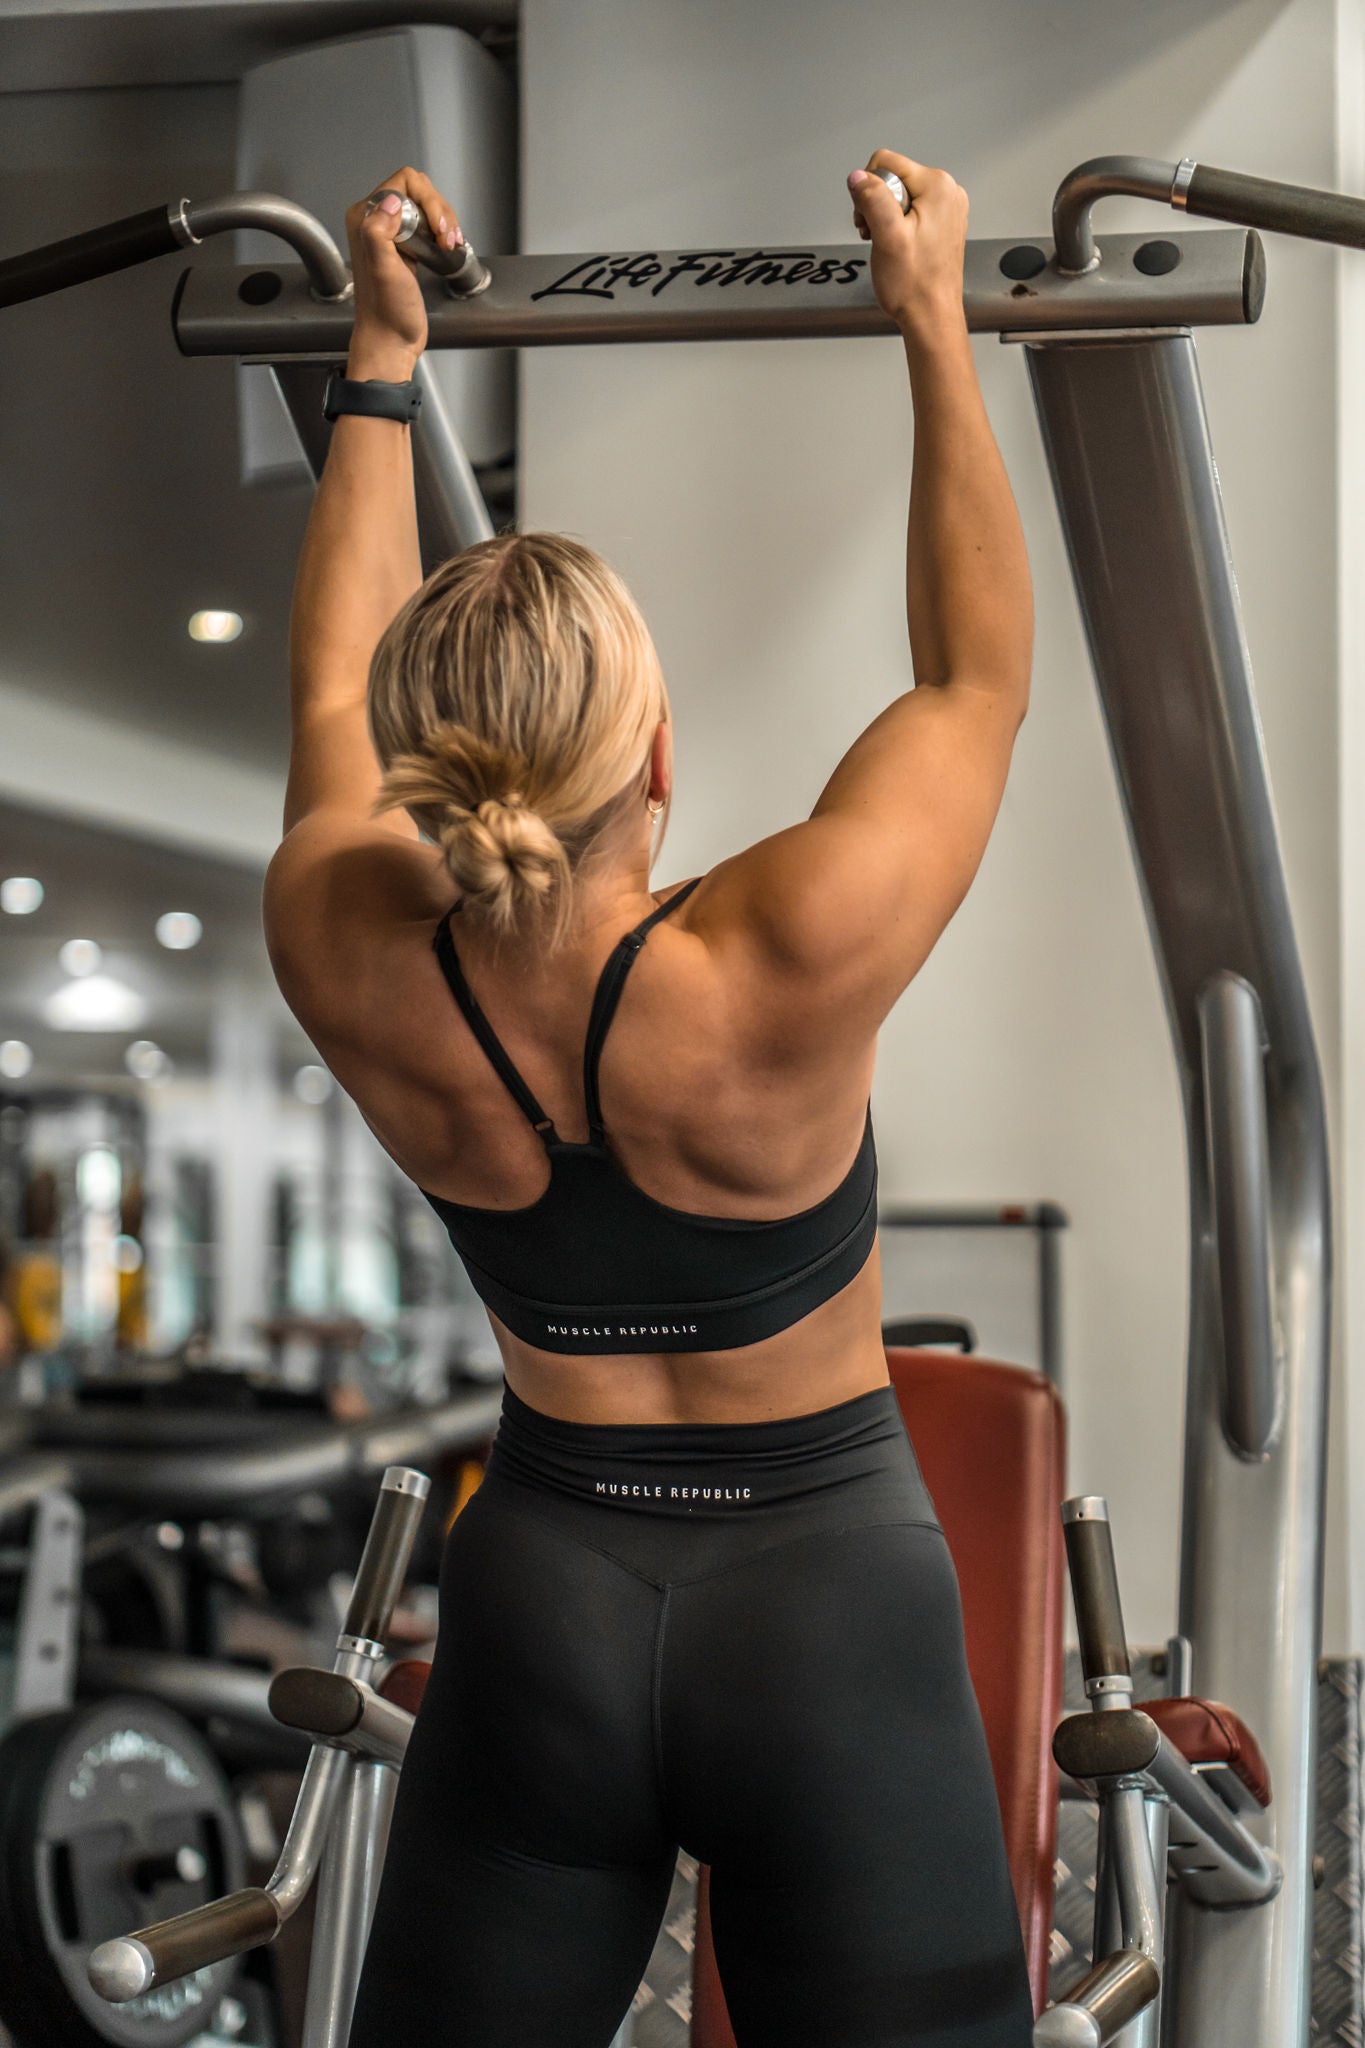
To begin, we first need to understand the difference between a chin-up and a pull-up. A pull-up is performed with an overhand grip on the bar while a chin-up is performed with an underhand grip.
A pull-up is more challenging to execute than a chin-up. This is because the over-hand grip reduces the level of bicep assistance, thereby placing a larger demand on your back muscles to pull you up.
Step #1: Increase Grip Strength
Step #2: Static Holds
Step #3: Hang Pack
Step #4: Hang Pack Pull
Working with an experienced personal trainer will help you achieve your pull-up goal faster and more effectively. If you are serious about mastering the pull-up, make sure to take advantage of our personal training deal. We are offering three, thirty minute personal training sessions for just $99. I am excited to help anyone achieve their first pull-up, so if you have any questions about the above steps, or need any assistance, please find my contact details below.
If you enjoyed this article, please subscribe to our emailing list to receive more inspirational and educational content. Also, if you haven’t already, please follow us on Instagram, Facebook and YouTube.
This is because the pull-up targets multiple muscles at once. Not only do you challenge your back, but your biceps, triceps, shoulders and abs also get a workout. Now how’s that for an exercise? Follow the 5 steps below to master your first pull-up.
Chin-up vs. Pull-up
To begin, we first need to understand the difference between a chin-up and a pull-up. A pull-up is performed with an overhand grip on the bar while a chin-up is performed with an underhand grip.
A pull-up is more challenging to execute than a chin-up. This is because the over-hand grip reduces the level of bicep assistance, thereby placing a larger demand on your back muscles to pull you up.
Step #1: Increase Grip Strength
- The first step to performing your first pull-up is to develop the grip strength required to remain on the bar throughout the movement.
- To increase grip strength, hold onto the bar for as long as you physically can, until gravity forces you to let go.
- As a general guideline, repeat this ten times, resting for 60 seconds in between each repetition.
- Each session, aim to grip the bar for longer, working up to a 10 second hold. Once you have mastered the 10 second hold, you are ready for step 2.
Step #2: Static Holds
- This step will help to increase your strength during the lowering phase of the movement.
- Using a stool, bring yourself to the top of the pull-up position and hang there for as long as you can. Eventually, your muscles will fatigue, forcing you to slowly lower to the ground. During the repetition, try as hard as you can to resist this descent.
- Count how many seconds it takes for gravity to force your body to the ground. Aim to increase this by 3 seconds each session, working your way up to a 10 second repetition.
- As a general guideline, repeat this 10 times with a 60 second rest in between repetitions.
- When you can hold yourself up for 10 seconds, you are ready for step 3.
Step #3: Hang Pack
- Majority of my clients find the bottom phase of the pull-up the hardest. If I assist them during the initial pull, they can usually perform the rest of the movement themselves.
- The ‘hang pack’ step is designed to improve your strength during the initial pulling motion of the exercise.
- To execute this movement, tense the upper back to bring the shoulder blades down and together. Keep your elbows locked throughout the movement. Hold this ‘packed’ position for a few seconds before relaxing your shoulders and letting go of the ‘pack’.
- This movement also helps to disengage your traps, thereby forcing you to contract your lats to pull yourself up. Consequently, this action helps to take any emphasis off using your arms to pull yourself up.
- As a general guideline, once you are able to repeat this for three sets of ten repetitions, you are ready for the final step.
Step #4: Hang Pack Pull
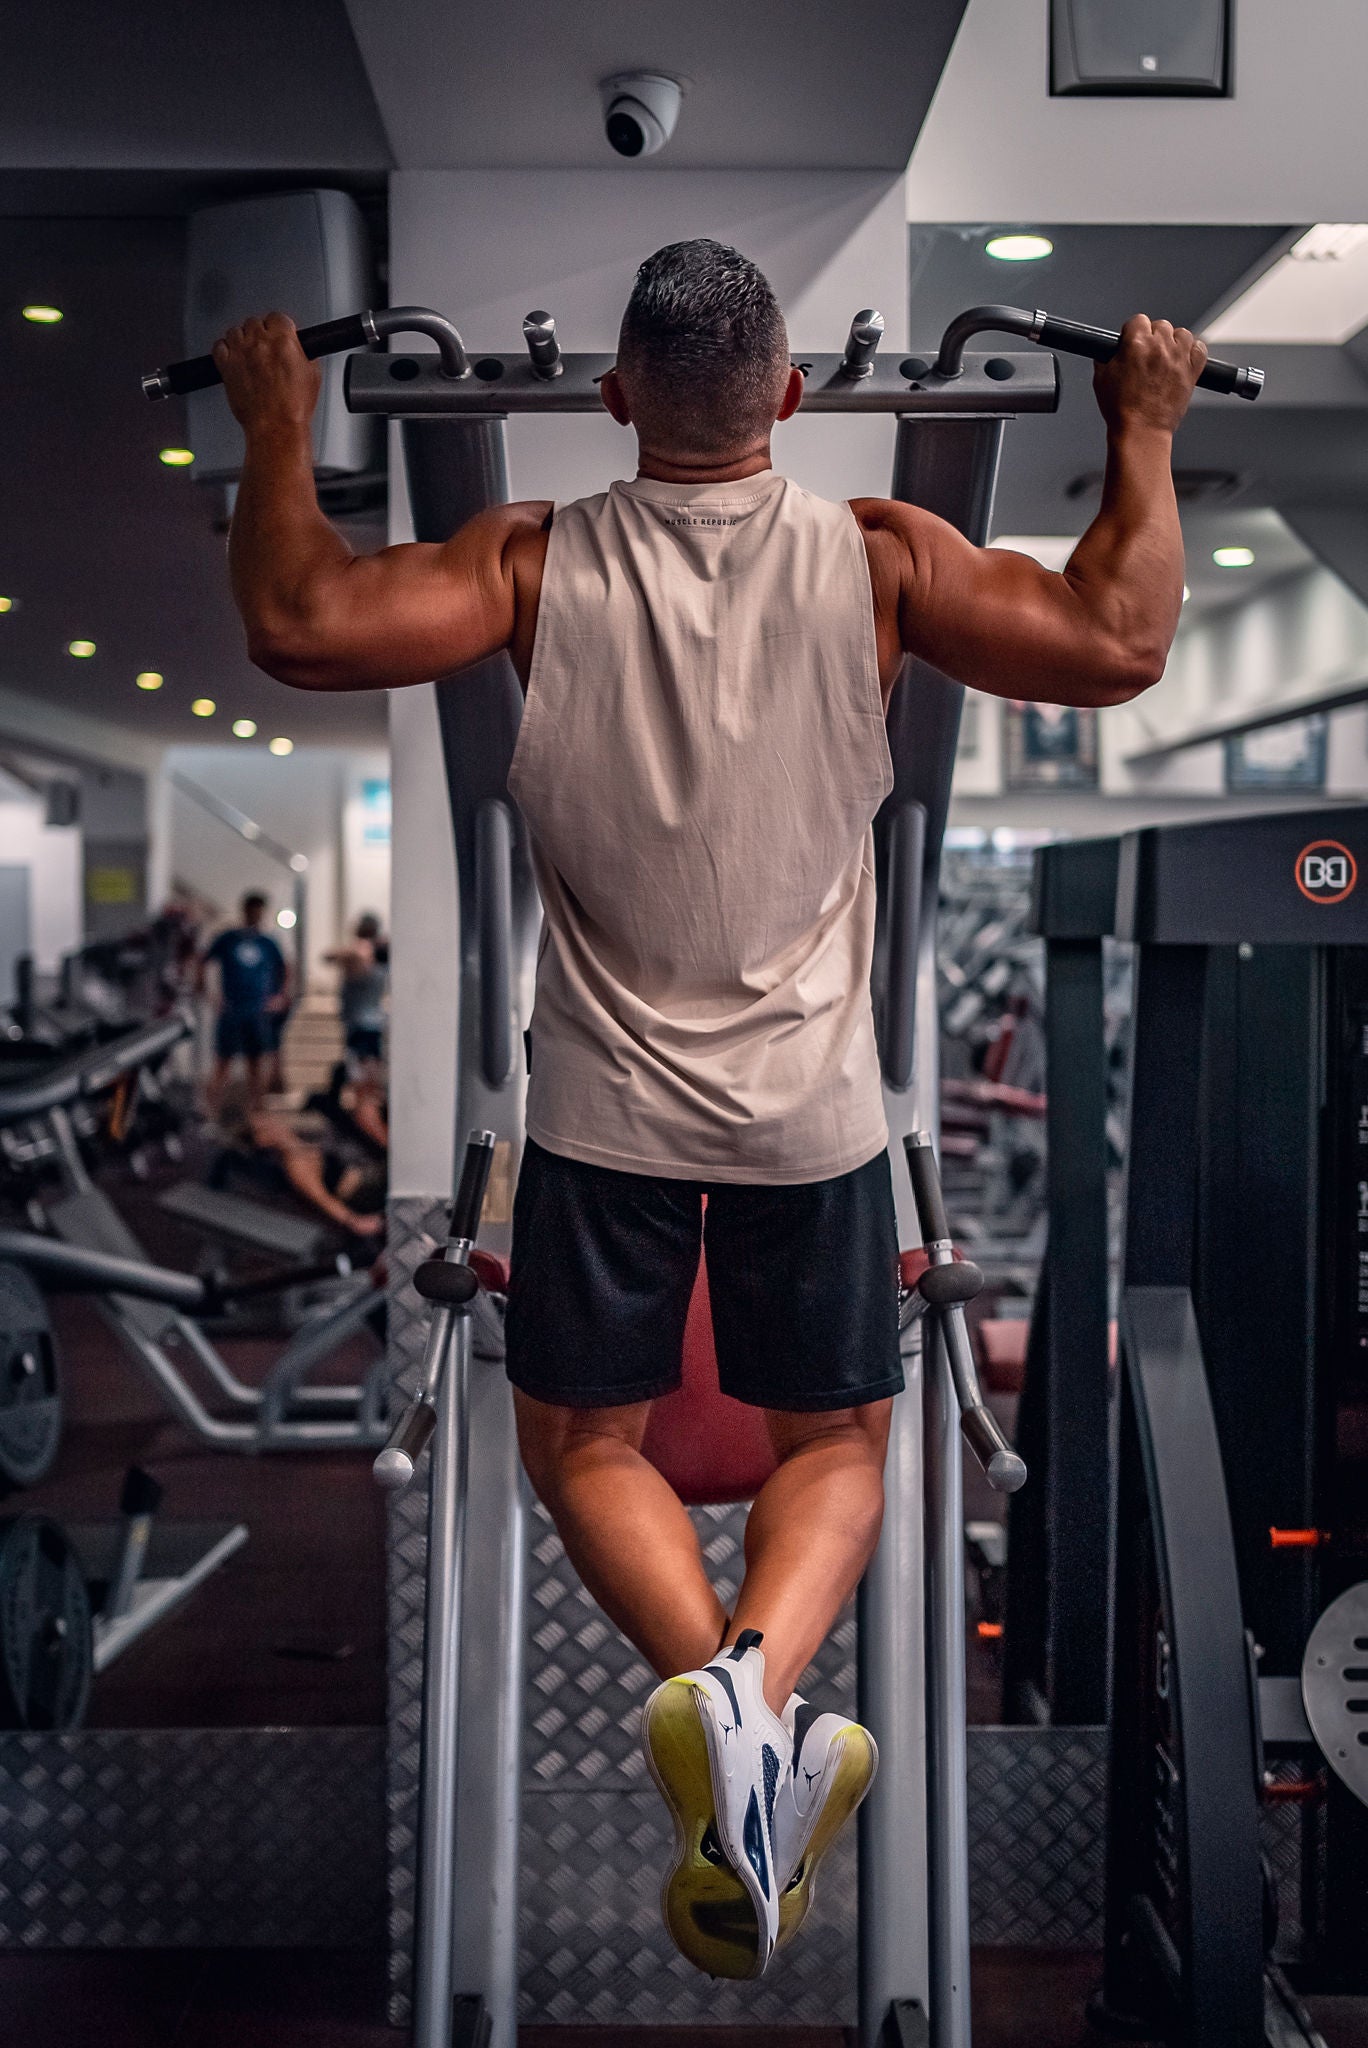
- This step is designed to teach you to pull yourself up from the base of the movement, with no assistance.
- After you ‘pack’ your shoulders, use your back muscles to pull yourself up as far as you can, before slowly lowering yourself to the ground. You might not get very far, but the aim is to increase this distance each with session until you can perform a full pull-up.
- As a general guideline, perform this exercise for five sets of five repetitions, with a 60 second rest in between.
Working with an experienced personal trainer will help you achieve your pull-up goal faster and more effectively. If you are serious about mastering the pull-up, make sure to take advantage of our personal training deal. We are offering three, thirty minute personal training sessions for just $99. I am excited to help anyone achieve their first pull-up, so if you have any questions about the above steps, or need any assistance, please find my contact details below.
If you enjoyed this article, please subscribe to our emailing list to receive more inspirational and educational content. Also, if you haven’t already, please follow us on Instagram, Facebook and YouTube.
Previous post
Drink this post-workout to maximise results
Next post
The top mistake people make when going gluten-free
Related Posts
3 ways to fall in love with exercise
Here’s how to turn something that you’ve dreaded into something you enjoy… 1) Block the Negative: Your thoughts play a big part in determining...
May 22 2023
5 obstacles to overcome to gain fitness success!
You want to be fit. You know how much you should weigh. You know your ideal pant size. You can even picture how great...
May 22 2023
Follow these simple rules to stay fit!
Far too often fitness is presented as complicated and confusing. Nothing could be farther from the truth. Being fit comes from living the following...
May 22 2023

5 benefits of fat loss
Almost every new client comes to me with the desire to lose fat – for a variety of reasons. The most prevailing reason that...
May 22 2023

Workout Motivation: How To Get It & How To Keep It
Finding the motivation to workout is not always easy. There are often times when we’re stressed, tired, or quite frankly, just not in the...
Feb 03 2022
The One Set Method
When it comes to strength training, there is no one-size-fits-all approach. Everyone has different goals, training methods and preferences. It is important, however, to...
Jan 27 2022
Free Weights Vs Resistance Machines - Which Is Better?
When it comes to planning your gym workout, it can be overwhelming to determine which equipment you should use. Many gyms have an endless...
Nov 24 2021

The Best Gym Workout Plan: 3 Simple Steps To Build Your Best Body
Whether you're a gym junkie or gym newbie, it's important you implement an effective workout plan that gets you the results you're after. There's...
Nov 23 2021